(get it??)
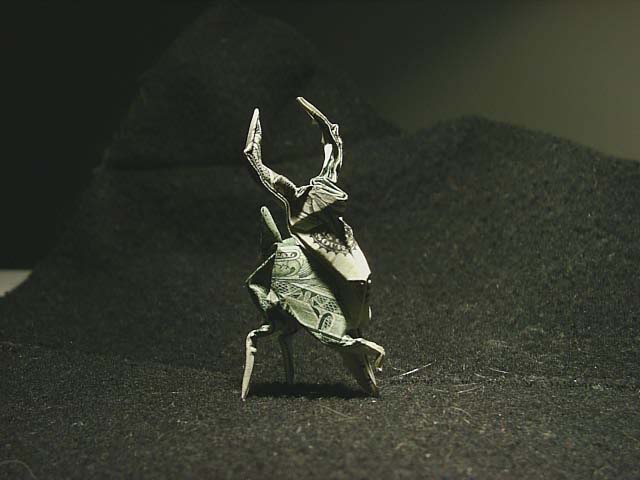
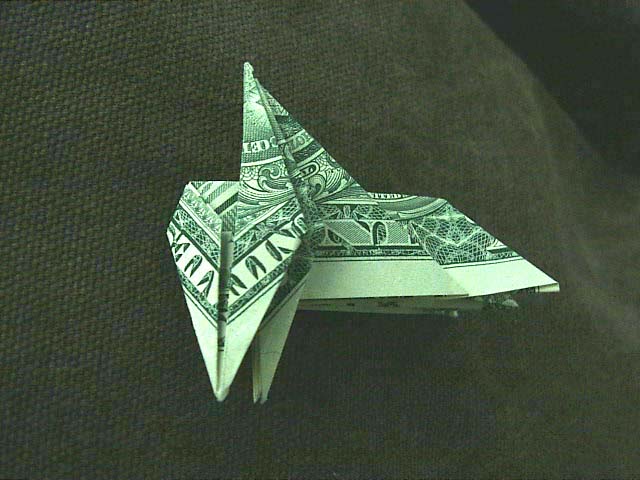
The dollar bill "Stag" (which I call the "buck" because it's punnier :) )
was created by Fred Rohm, and diagrammed by Alice Gray in 1969,
and published in the Origami USA annual collection for 1992.
(After being contacted for permission to use these diagrams, I wrote a long diatribe on
the benefits of copyLEFT for origami. I hope you agree with me!)
I memorized the model, then changed some of the folds to make them easier.
Below is my attempt to redo the diagrams using photographs.
If anything it difficult to understand, please let me know
so I can correct the instructions and others can benefit.
Esp. beginners, since this is a rather difficult model to make!
(Took me two hours the first time I folded it!
But I can fold it in about 15 minutes now.)
The only model I ever made of my own is the dollar bill sleigh
to go along with the buck. (9 reindeer and a sleigh make a nice $10 xmas gift!)
I have no diagrams for it, but if someone out there pesters me a couple times,
I might just do it! :)
This is the "expert" page.
It's expected that you know general folds like "petal fold" and "rabbit ear" and "Water bomb base."
If you've never folded these things, this might be a bit difficult for you!
But give it a try and see how it goes.
Or go here for the "beginner page".
Note,there's links into the beginner's page if you need help anywhere!
So don't be afraid to click for help!
You might right-click and open the help in another window...

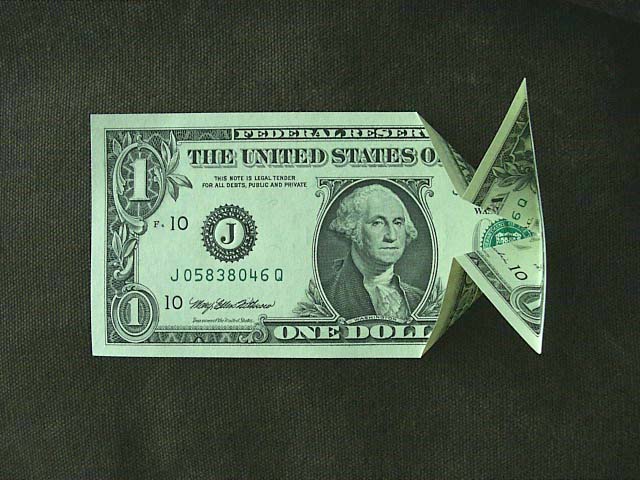
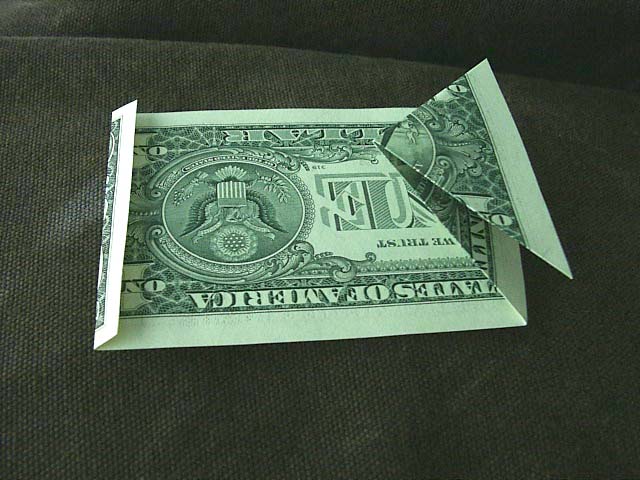
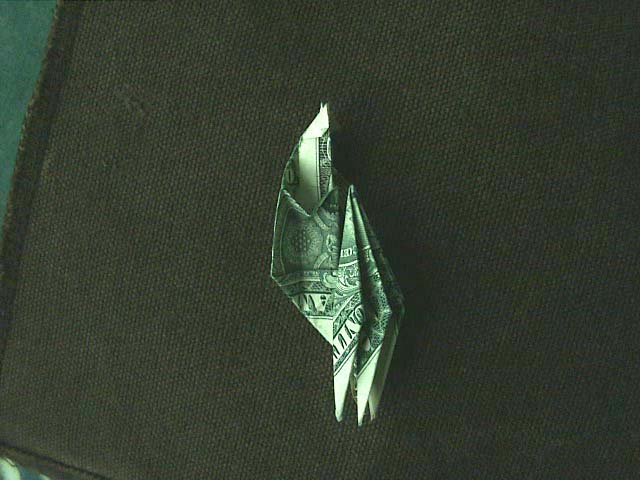
Start with the crispest dollar you have.
Note which side has two berries instead of one -- the right side.
If you orient the dollar this way, you'll get a smile on the buck's face!
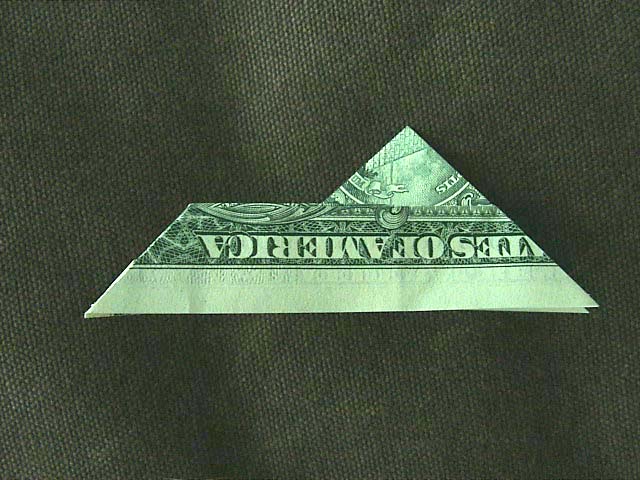
Make a water bomb base at the two-berries end.
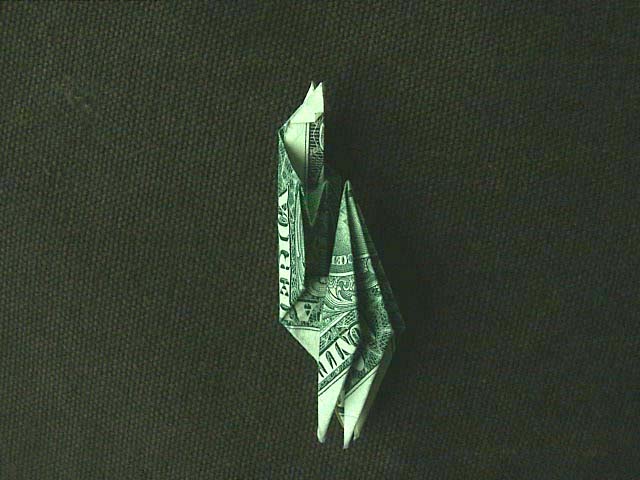
Turn the bill over and fold a little of the left side in.
This will shorten the neck slightly.
I don't know how much..."some" I guess.
(Note that I folded a tad too much here and the buck had a really short neck! Oh well.)
Now fold a sink fold on the big part.
(Help can be found here.)
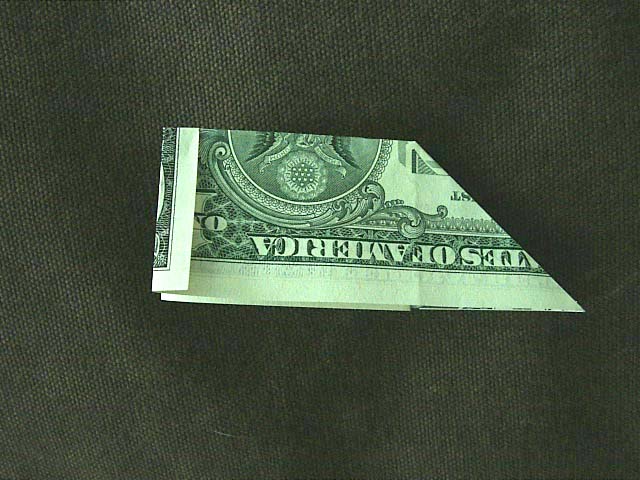
Thus.
(For those who are perfectionists (who me?) note that the front is short and the bottom edge shows.
This is actually on purpose. In the next fold, the top will slide and then match perfectly.
Just keep your eye on it and you'll see.)
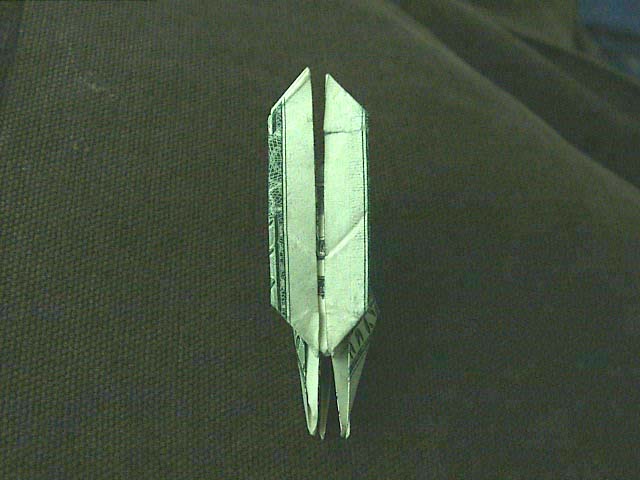
Now sink...
Here's the sink fold coming together.
And done!
(Do you perfectionists see now how the underlap helped to make things perfect here?)
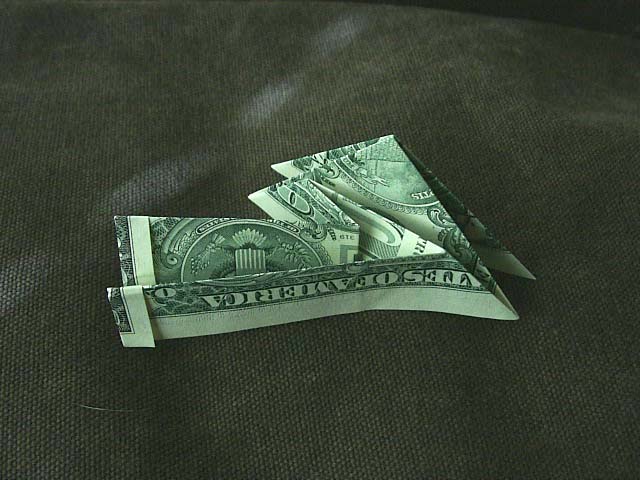
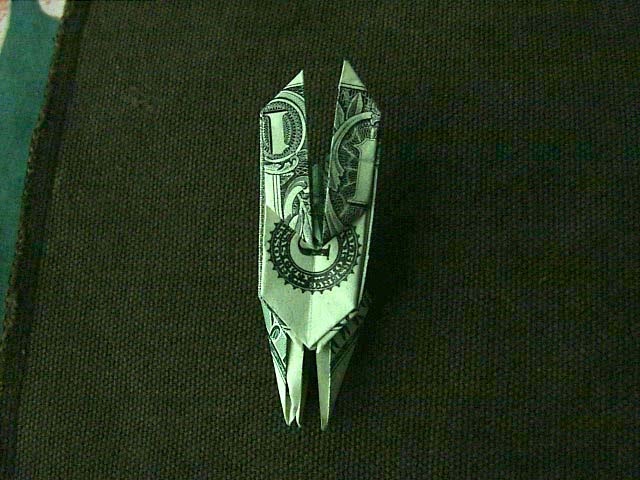
Now, reverse fold the tips of the rectangle.
Here, I pre-crease the reverse fold -- the other side is folded similarly.
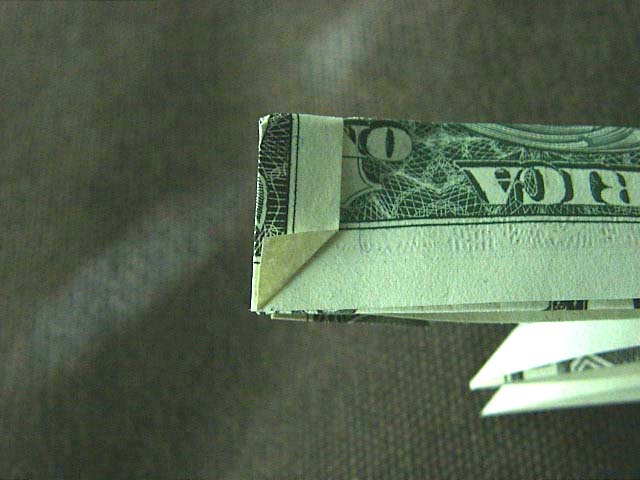
Note the little flap here -- as you do the reverse fold, don't unfold it.
This will tuck it out of the way.
Here's a shot to help you see what you did.
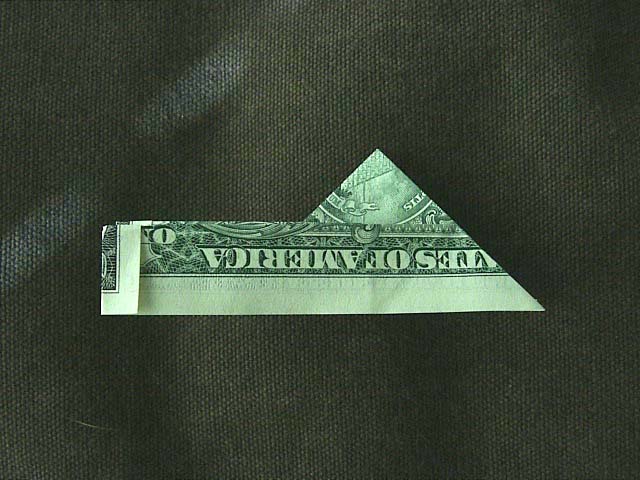
Okay, turn over.
Note that the two points of the triangle are doubled.
Twist these with a mountain fold to fold inside.
(Help can be found here.)
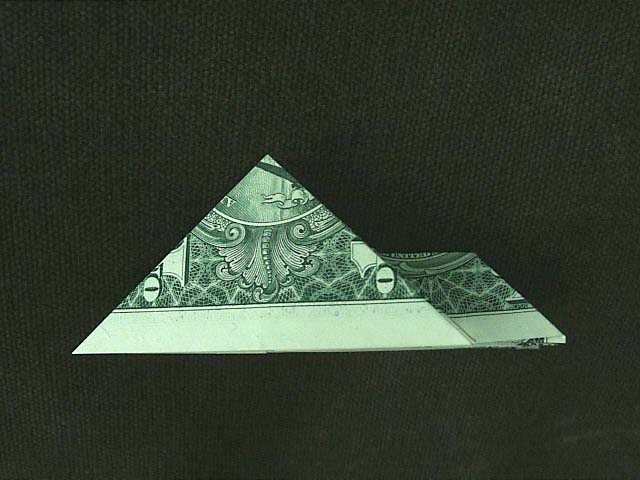
Note that the fold should make a nice point at the top.
Petal fold ONE flap here.
(Help can be found here.)
Done.
Make a teeny tiny rabbit ear on the top of the flap.
I folded this model three times before I ever figured out what this fold was for. :)
The smaller the better -- if you make it too big, it will tuck away and won't be visible.
(Help can be found here.)
Closeup.
Fold the flap down.
Turn one page.
Petal fold the tip of the triangle.
(Help can be found here.)
Note here how the bottom of the diamond is very close to the middle.
You will have problems if this is not tight.
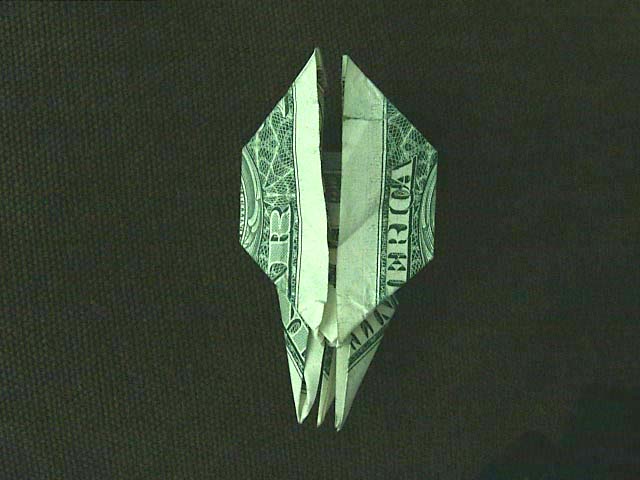
And completed!
Do both sides, of course.
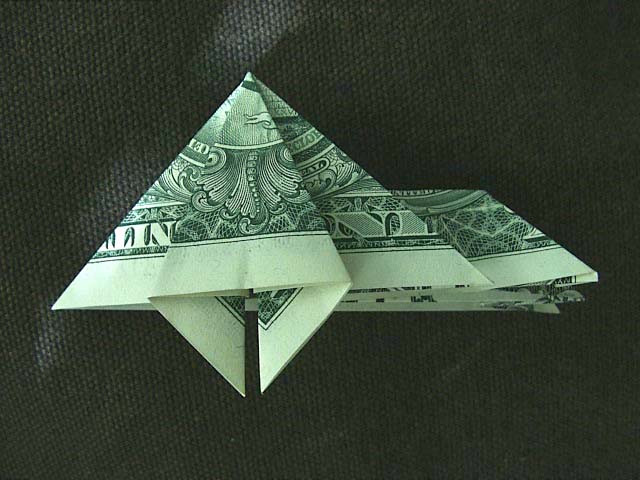
Now, the model must be carefully pulled apart to free some paper inside.
The bottom has four pointy bits.
Grasp the two in the middle and gently tug.
(Help can be found here.)
The folds of the freed paper will collapse naturally back.
Fold one flap over to the right.
Part of a flap must be tucked in.
(Help can be found here.)
Lift up the left side and you can see all of this flap.
This is the fold in the proper direction.
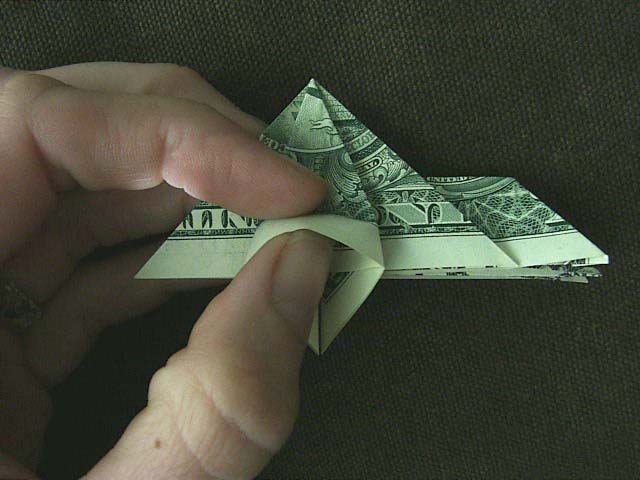
Now, to free the paper inside.
(Note, this instruction is not in the original instruction...)
See how pulling gently releases the paper.
Push this released paper deep inside.
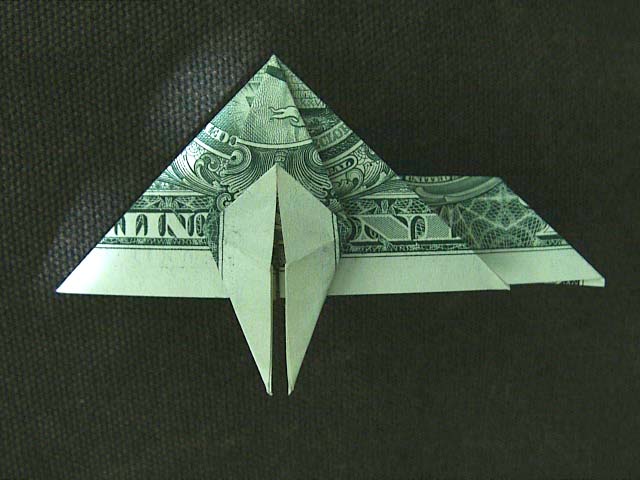
Done!
Repeat on the other side.
(Since this is tricky, there are explicit instructions for the left side too, here.)
Done!
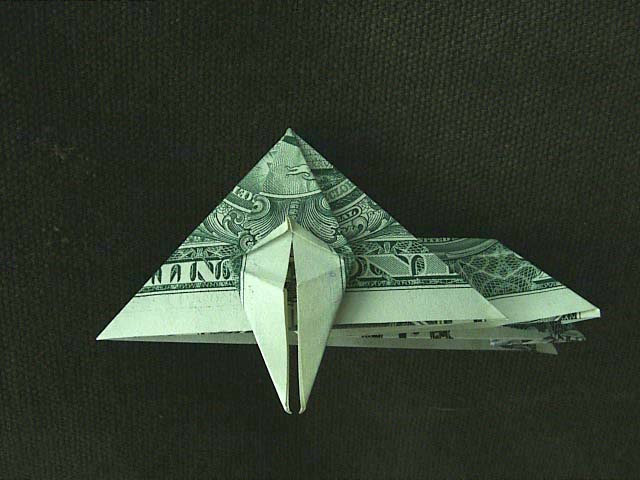
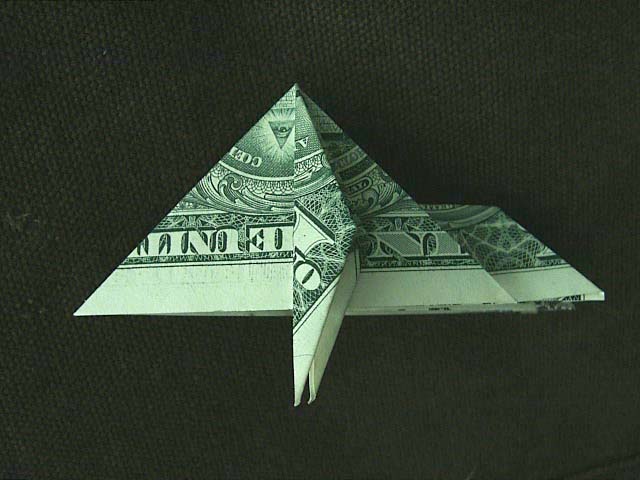
Now fold the page back.
If your model doesn't look like this (if it looks like the above)
of the four pointy bits, flatten out one of them on each side.
That should do it.
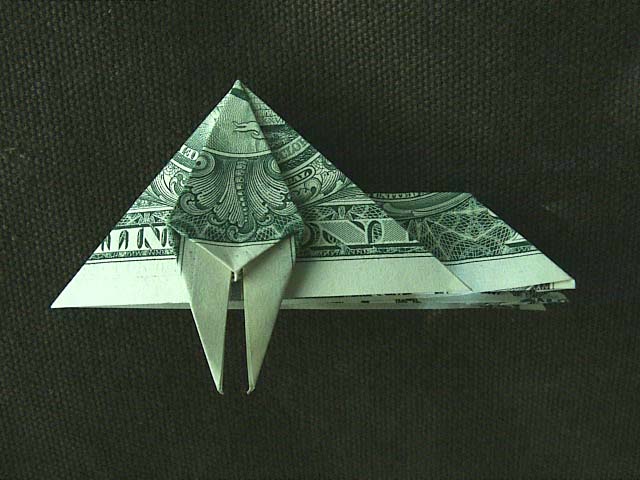
Now, reverse fold the rectangle part up.
(Help can be found here.)
Completed!
Be sure to make the fold tightly against the body.
In other words, the bottom fold (hidden in the picture)
should be up against the apex of folds in the middle.
Now, flip the nose down.
Gently pul the two pointy flaps down and outward,
so the top collapses into the model.
(Help can be found here.)
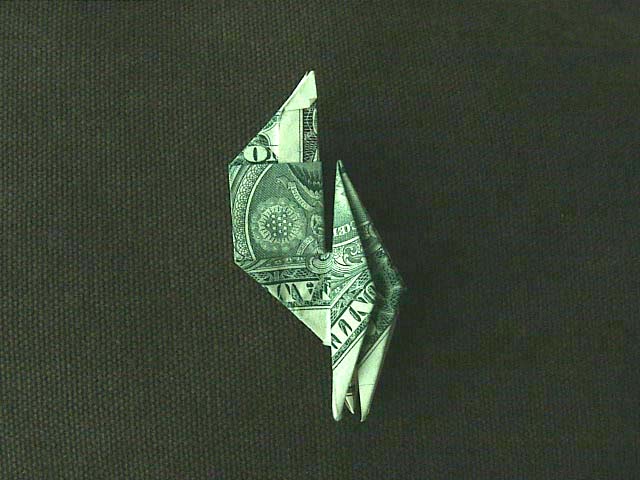
Completed!
Now simply fold the two points back up to meet.
Fold the sides together.
Now fold the sides in half.
As you do this, reverse this bit inside.
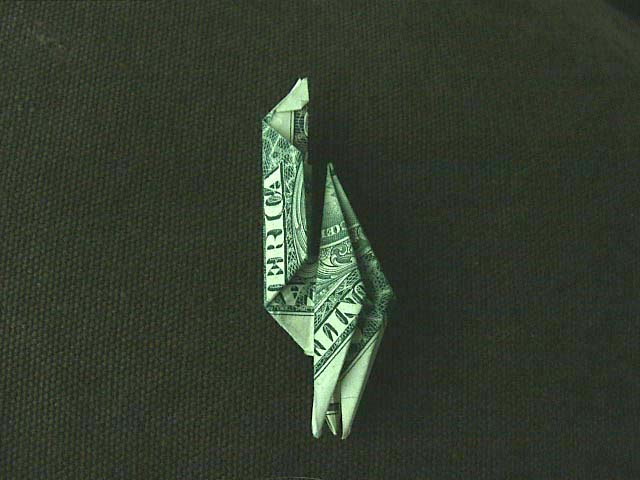
Done!
Don't forget to do both sides, of course.
Both sides will need a single layer turned inside out.
(Rips really don't show.)
(Help can be found here.)

Both sides done!
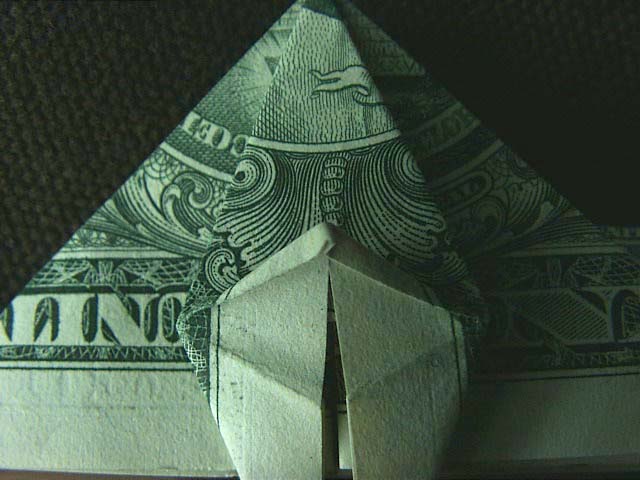
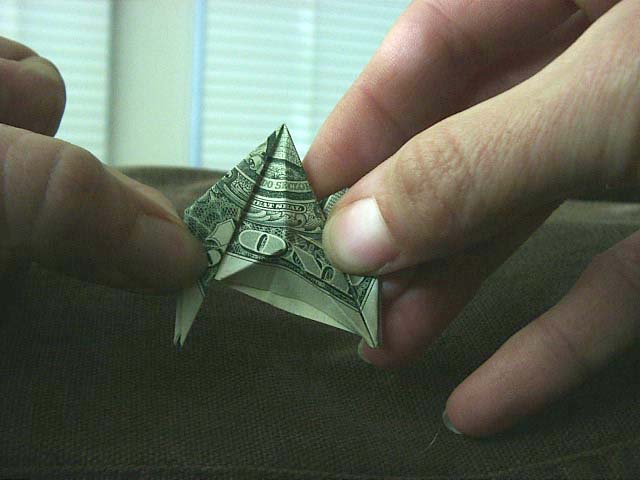
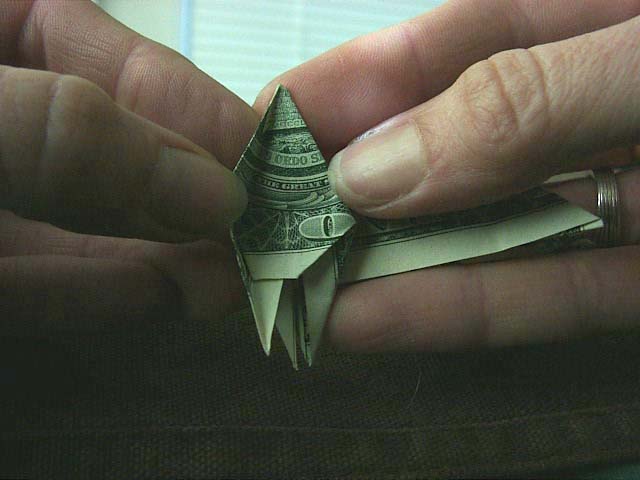
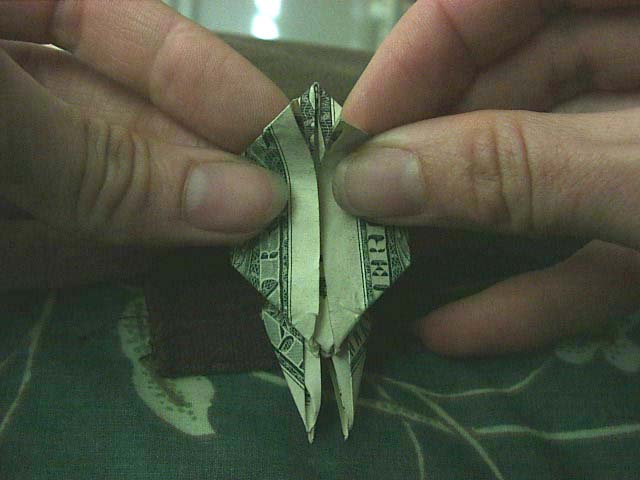
Now for the face.

Note the top of the diamond in the middle, with the point facing up.
This must be folded down.

In progress.

In progress...
Done!
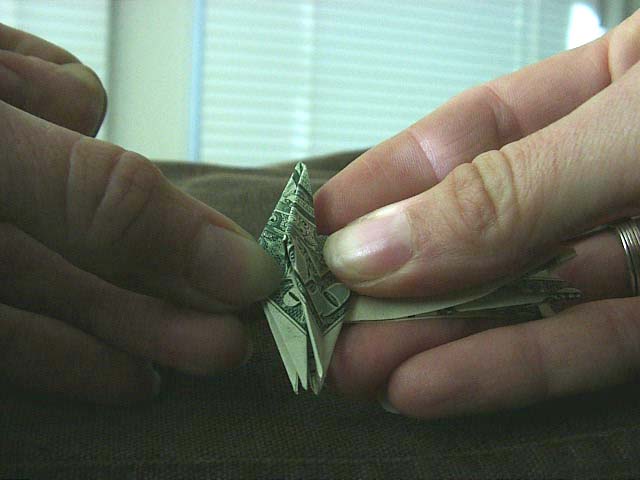
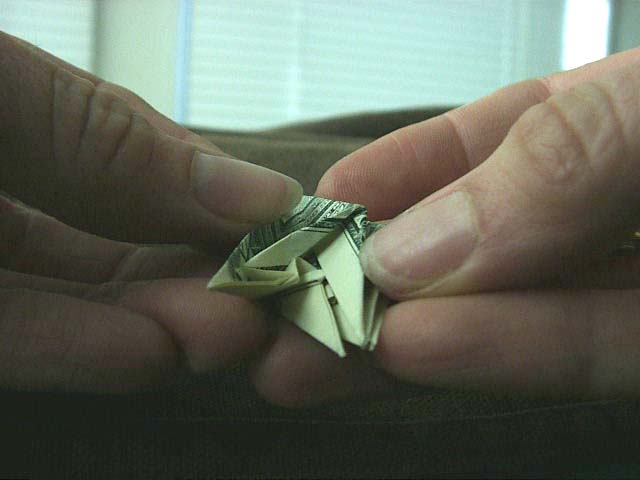
Now to rotate the face into position.
Before...
Tilt the antlers back and rotate the face upwards.
You can see the corner here.
Done!
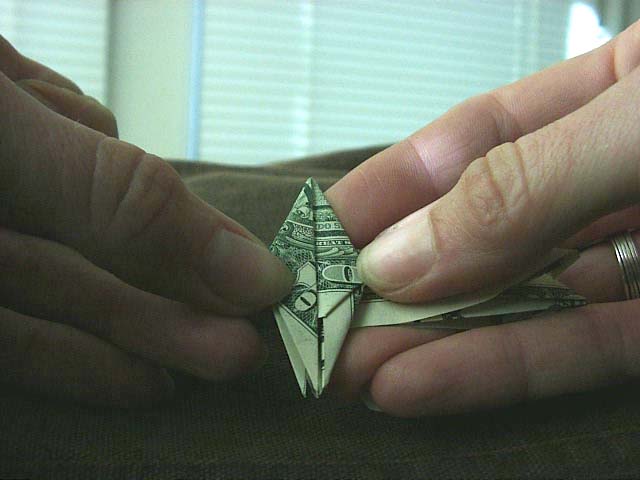
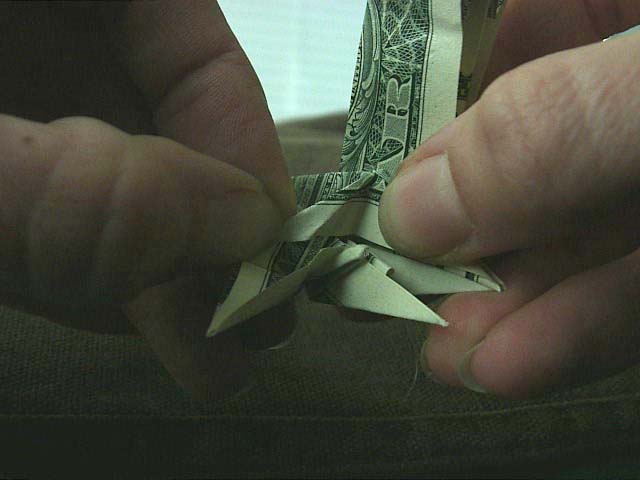
Now reverse fold the chin.
Done!
Now to ratate the head back up.
Note where my thumb is.
The crease for this fold runs from my thumb down to the shallow point above my finger.
The antlers rotate magically into place as this is folded.
Here's the crease on one side.
This fold can be adjusted later to change the attitude of the head.
It really gives the buck a personality!
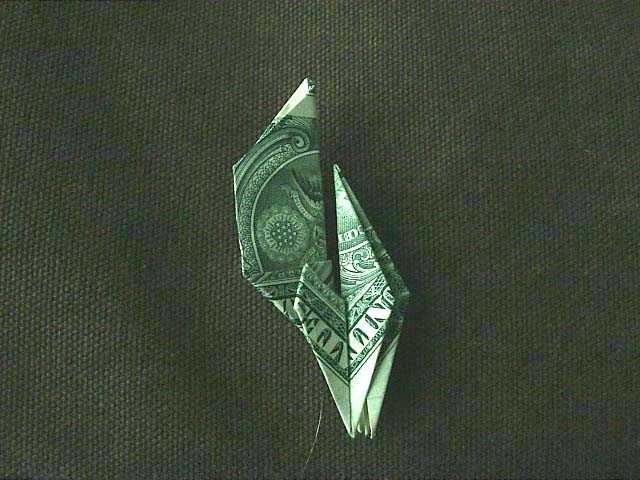
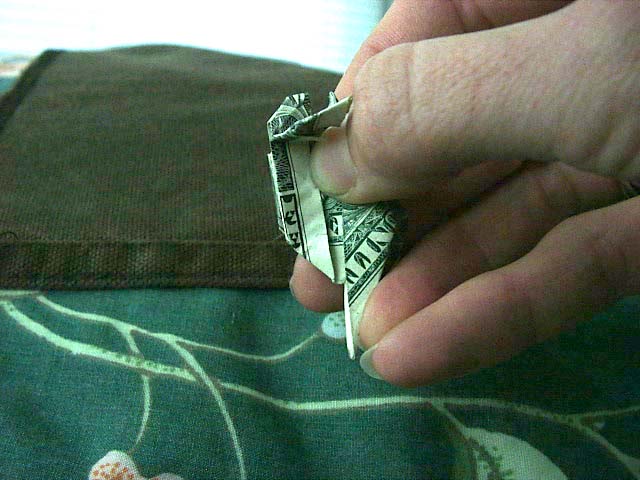
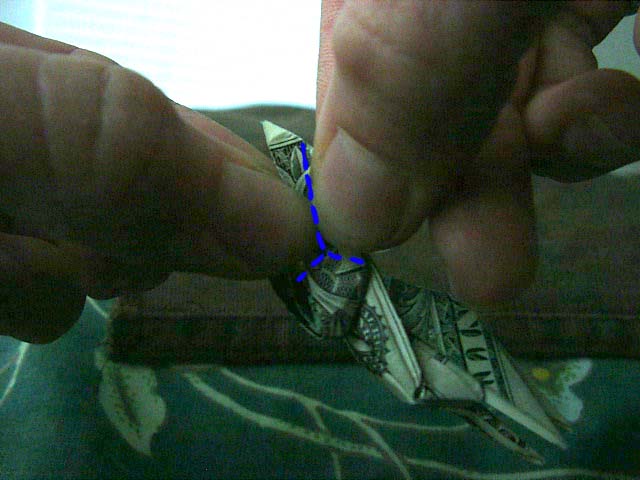
Now to fold the tail.
Do a double-reverse fold to define the tail.
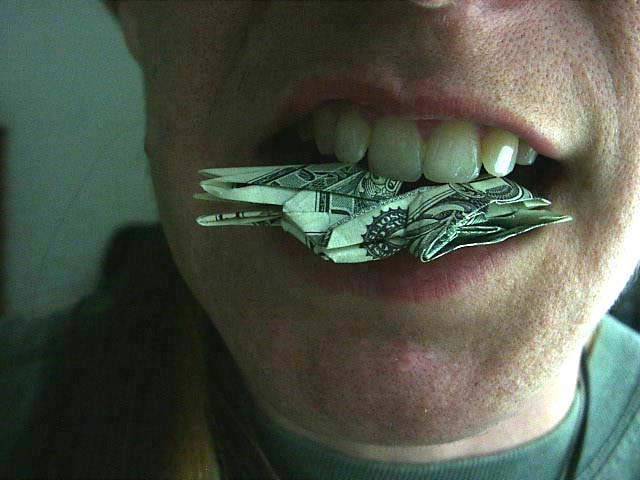
Here's how I make that fold!
(Yep, I bite every buck's butt that I make!)
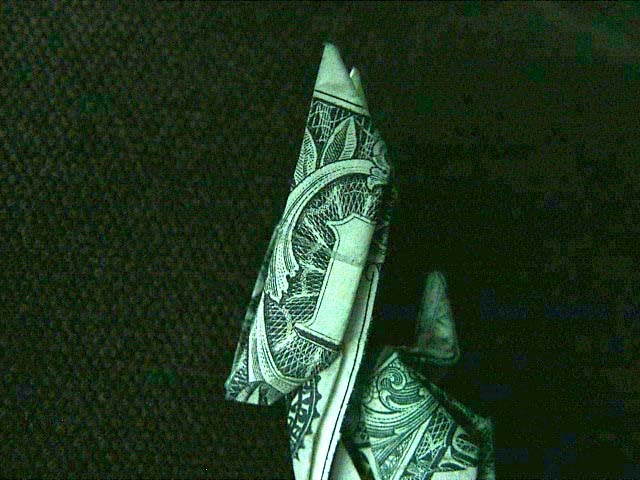
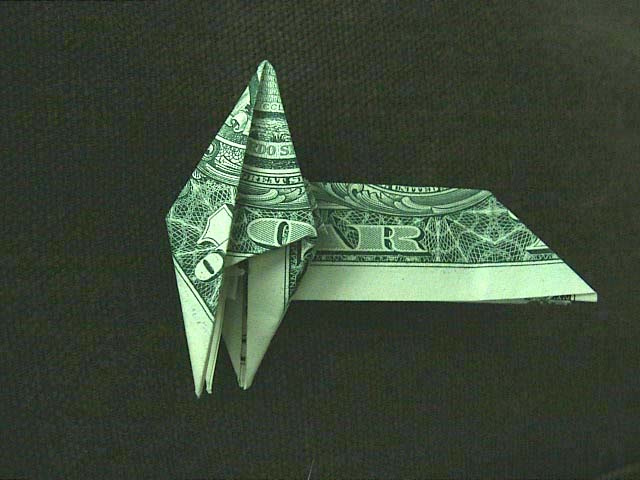
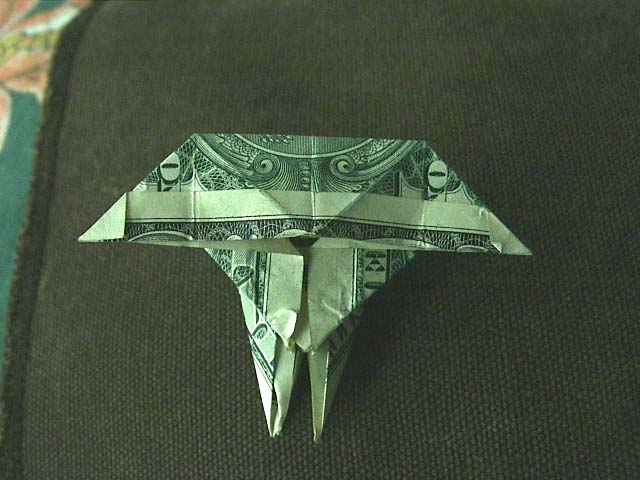
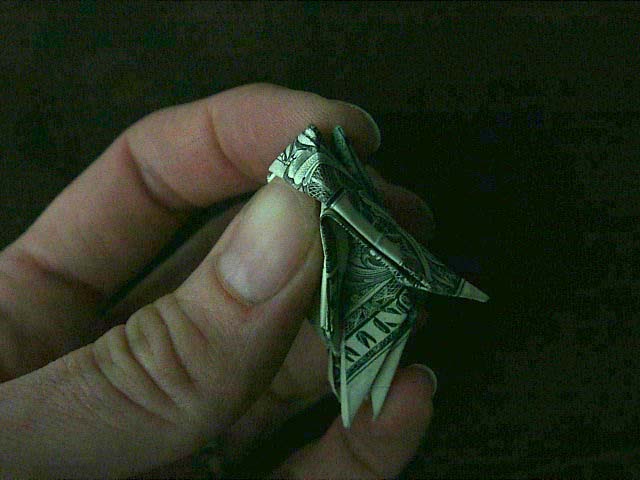
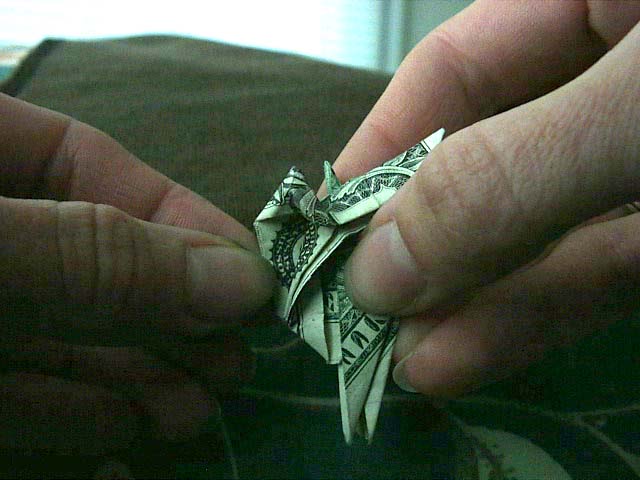
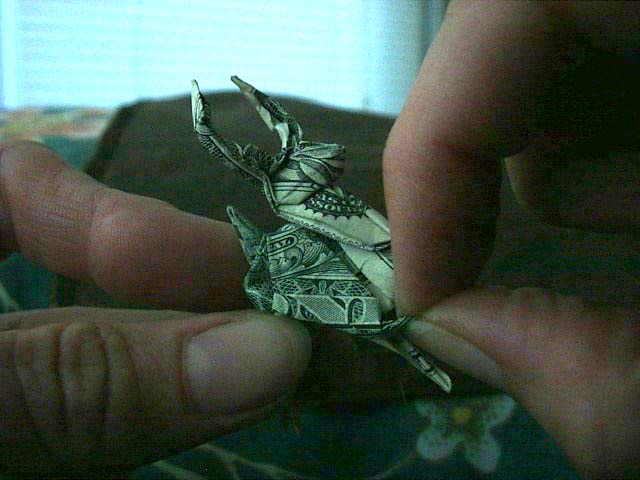
Detail of the face -- and the "mouth" you get from the leaves on the front.
If your buck doesn't have a smile, the dollar might have been cut a little offset,
or you didn't orient the two berries to the correct side.
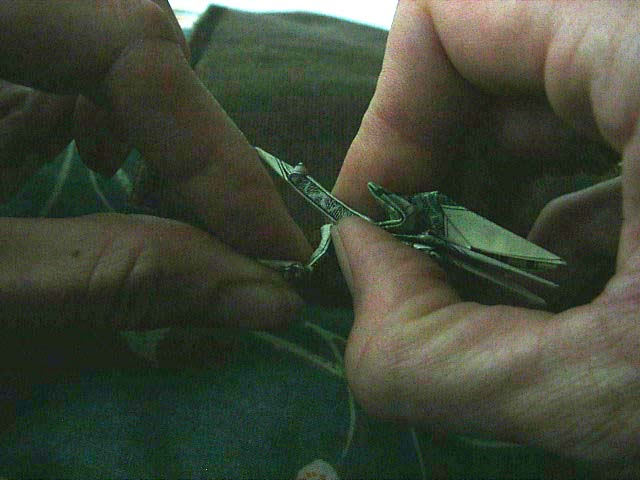
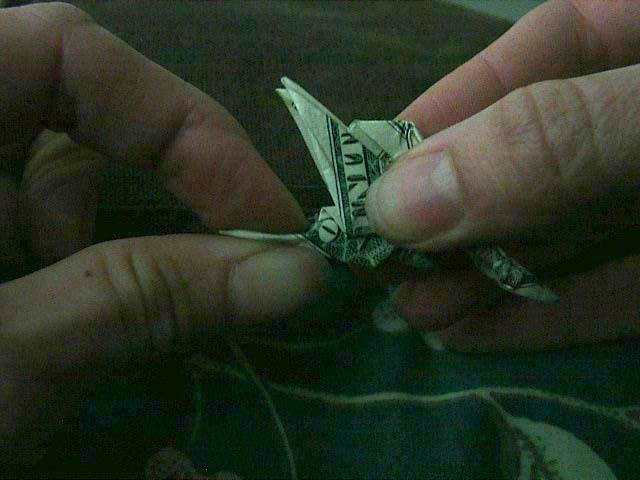
Now, rabbit ear the antlers.
This is easier said than done!
This is the beginning of the frustrating part of this model!
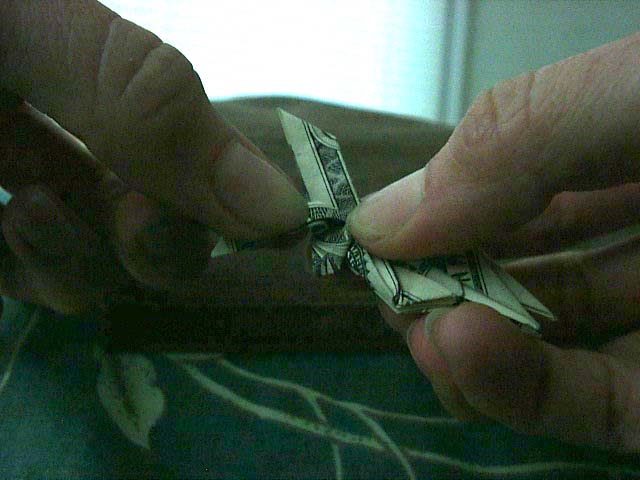
Do the rabbit ear forward.
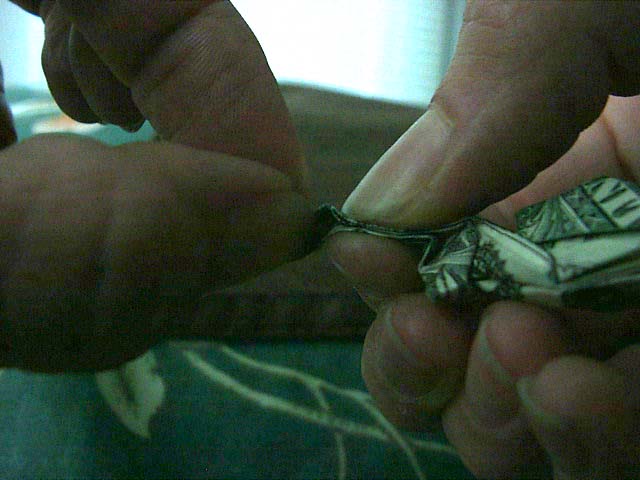
Do a little tuck fold for a second "point" on the antlers.
This is done by bisecting the tip of the antler. Follow the bisection down until you find a small pointy bit.
Then tuck the rest of the fold into the pointy bit and the pointy bit will stick out some.
(Help can be found here.)
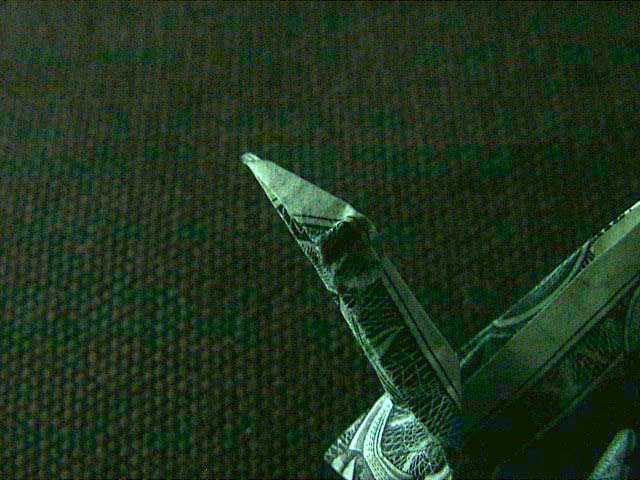
A closeup to help you.
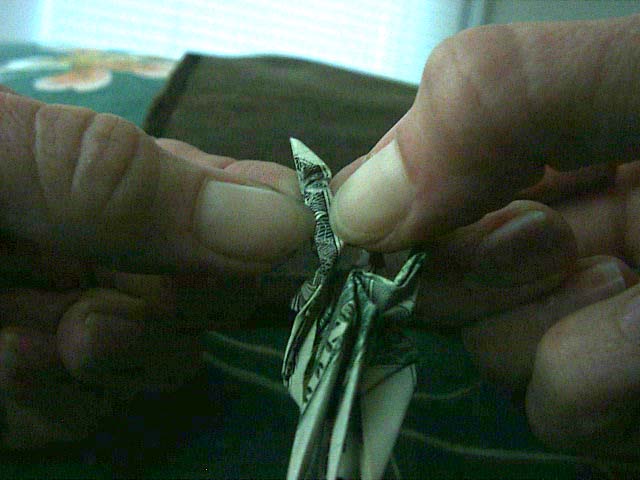
Now, here's an even more annoying fold!
Fold the antler in half again!!
Yes, it can be done. Be patient.
If you don't have any fingernails to help you, try just pinching it.
You want the fold to be a mountain fold, not a valley fold, though,
to make the antlers look rounded.
This is my own personal touch!
Curve the antlers to each side and it'll look really nice!
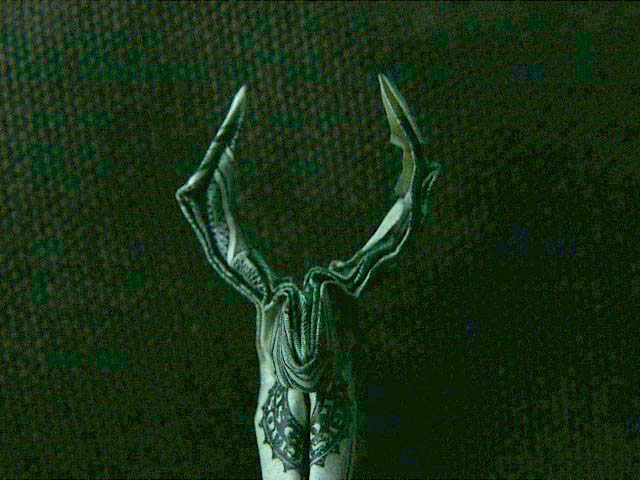
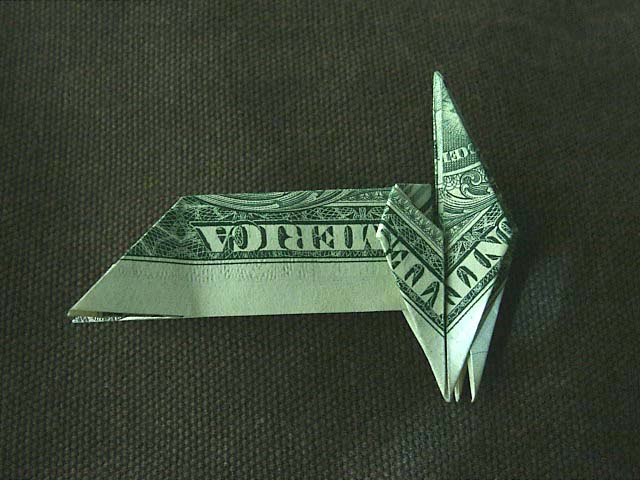
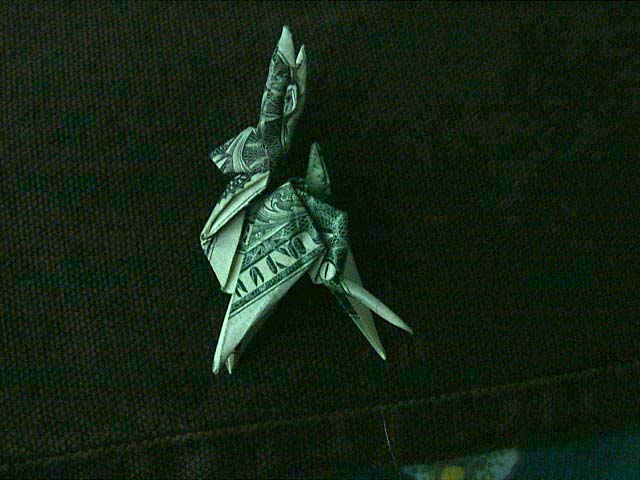
The antlers completed!
Now, let's start on the legs.

Grab the two back legs and rotate them out.
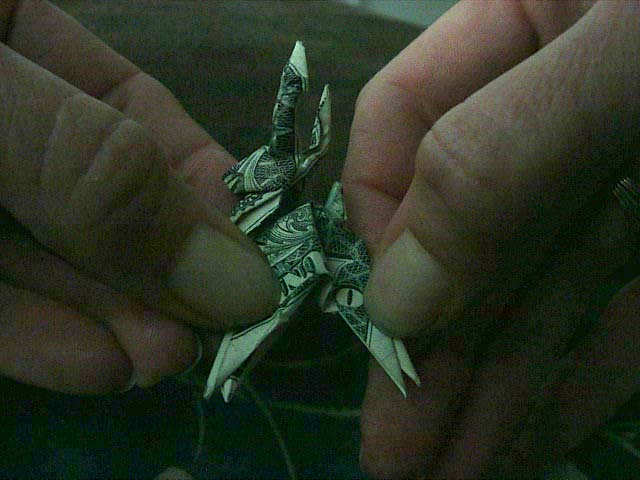
Like this.
Now rabbit ear the legs back.
Do this by pinching the legs to make them very skinny.
Try your best to make the fold go the entire length of hte leg right down to the tip.
Here's the back pointing back.
Fold the leg again so it points down to make the haunches.
Both legs done.
Rabbit ear the front legs.
Do this by pinching them first then totating downward.
Try ot make the fold go the length of the leg right to the tip.
Note that one front leg is rabbit eared downward, and the other is rabbit eared up.
The one going up will be the prancing leg!
Here the prancing leg is rabbit eared up.
Fold the tip down to make the hoof curled over.
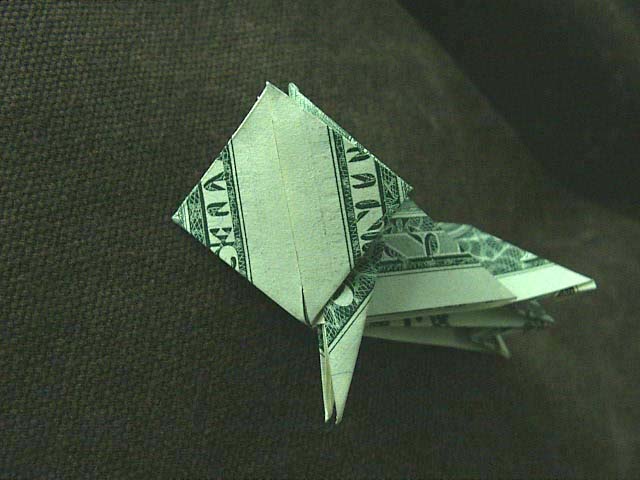
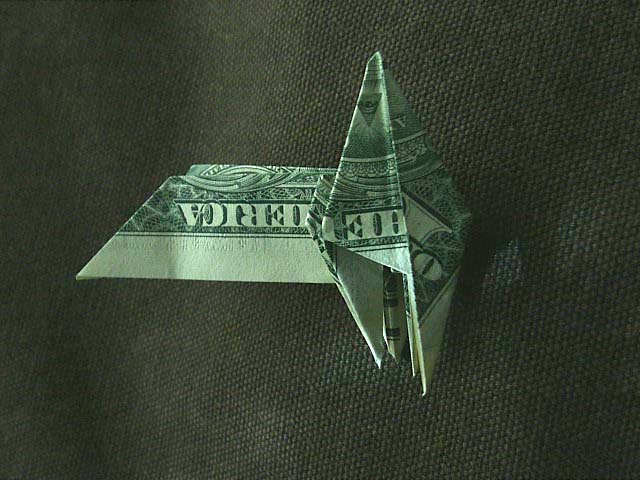
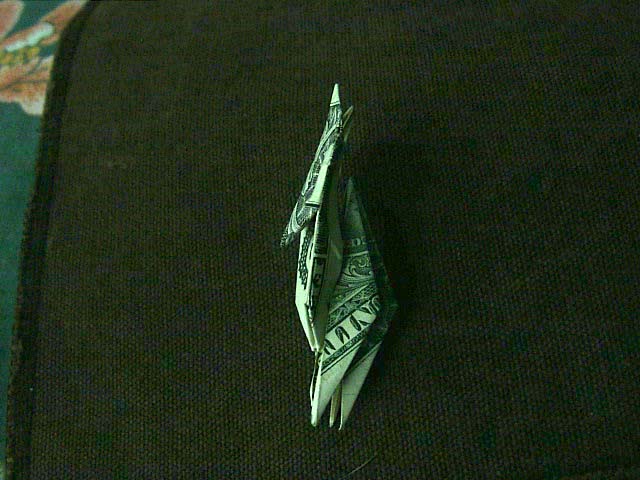
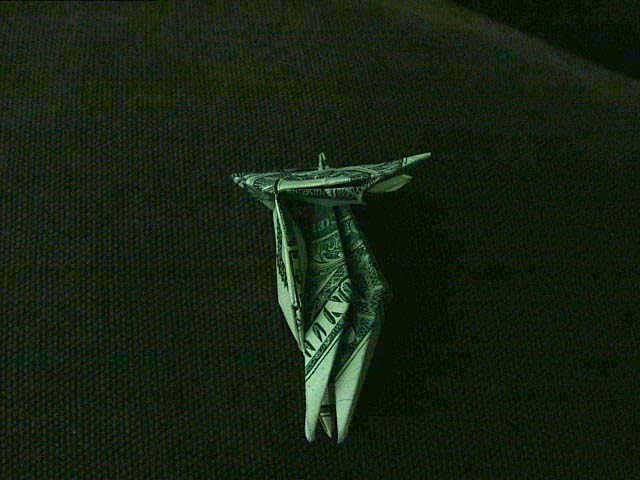
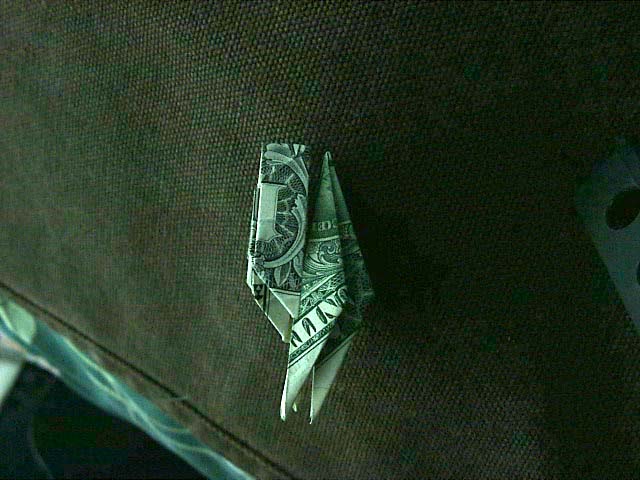
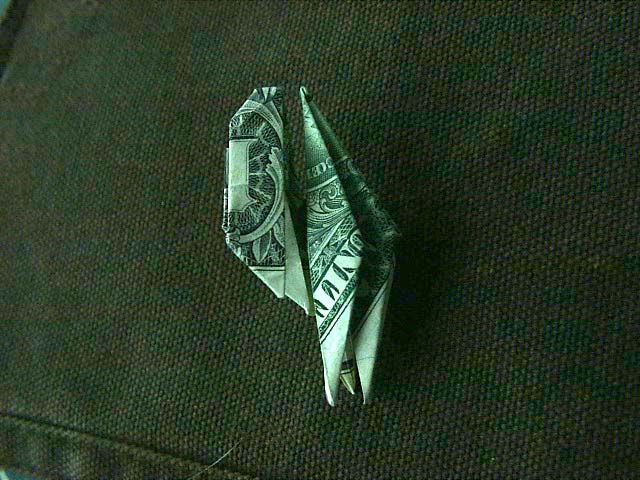
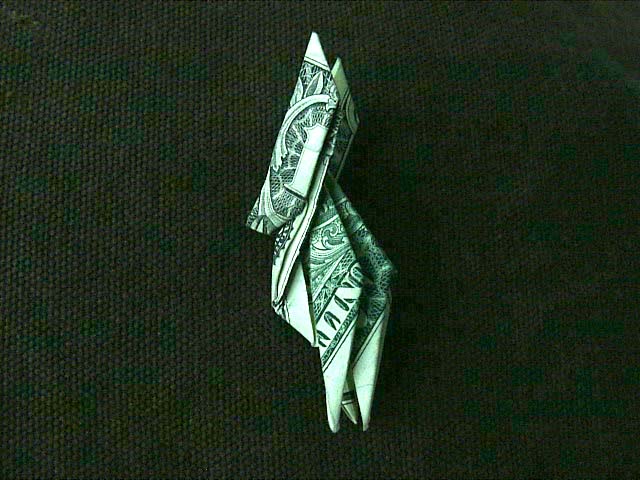
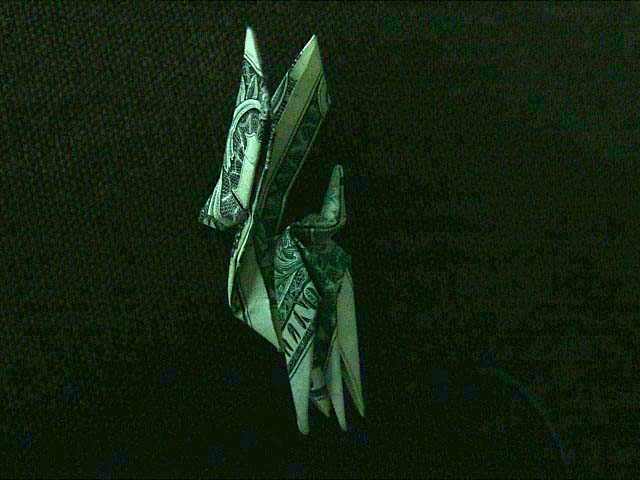
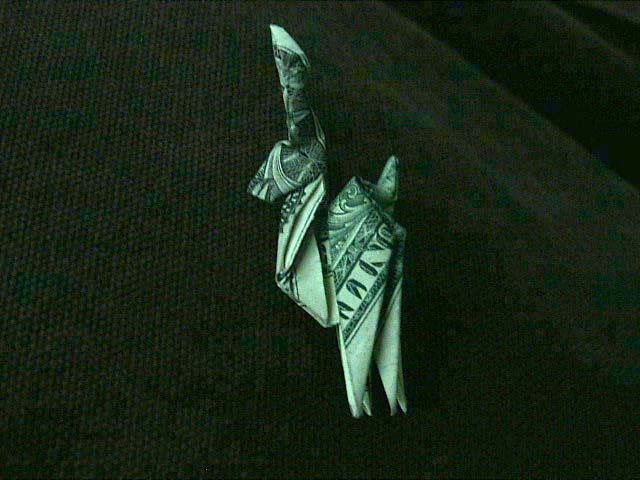
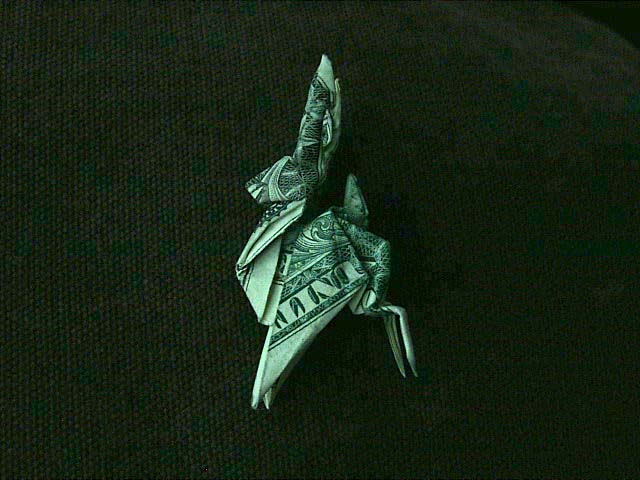
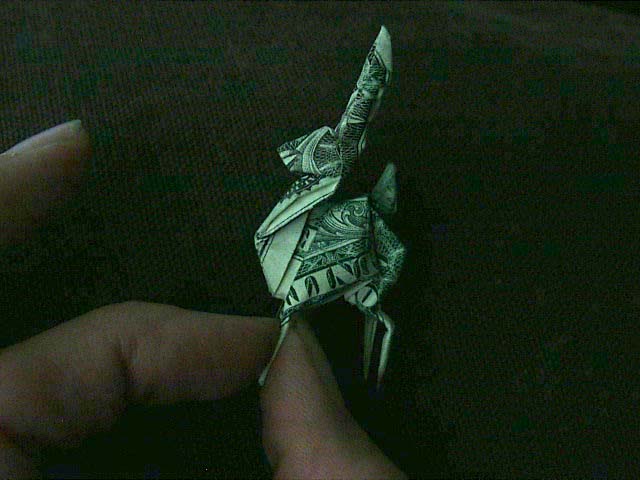
The "buck" completed!
Try turning the head to one side or the other -- this model has lots of personality!
(Did you find the mystery fold yet?? :) )